Full Fix: Windows 10/11 automatic update problems
![]() 7 min. read
7 min. read
![]() Updated on
Updated on
Share this article

Improve this guide
Read our disclosure page to find out how can you help Windows Report sustain the editorial team Read more
Key notes
- Updates for your Windows 10 computer are very important. That's why, having updates downloaded and installed automatically makes it that much easier to maintain your system.
- If automatic updates are getting stuck or fail to install, running the troubleshooter, making sure there is enough disk space or checking your security software are the most common ways to deal with this.
- Keeping an updated Windows is one of the most recommended best practice. The next one is usually around using an antivirus. Luckily we have just the right list of the best antivirus software available.
- We think that having a centralized place for all Windows 10 errors can be very useful. Check it out.

Windows 10 installs the missing updates automatically, but sometimes you might encounter automatic update problems on your PC. These problems can leave your system vulnerable, so today we’ll show you how to fix them.
Automatic update problems on Windows 10, how to fix them?
Windows Update is an important part of Windows 10, but sometimes you might encounter automatic update problems. Speaking of these issues, here are some common problems that users reported:
- Windows Update not working Windows 10 – This is a common problem that can occur with Windows 10, and it’s usually caused by your antivirus, so be sure to disable it.
- Windows 10 automatic update error – There are various automatic update errors that can occur on Windows 10, and if you encounter them, just run the Windows Update troubleshooter.
- Windows 10 automatic update is stuck, taking forever – Stuck updates are a common problem on Windows 10, and if waiting for update process to finish doesn’t help, you can always try disconnecting the external storage.
- Automatic update service is not running – This issue can occur if there’s a problem with Windows Update components, however, you can fix the problem simply by restarting the necessary components.
1. Change Windows Update settings
- Open the Settings app. You can do that quickly by pressing Windows Key + I shortcut.
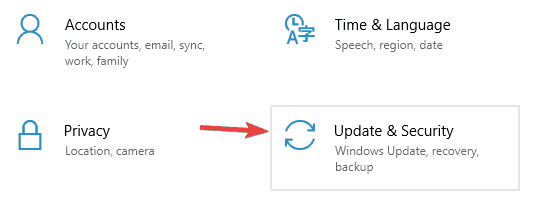
- When Settings app opens, go to Update & Security section.

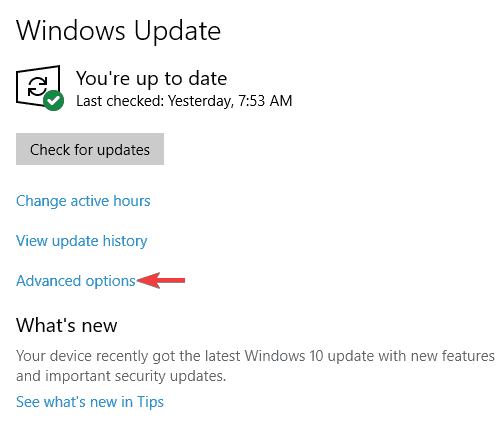
- Navigate to Advanced options.

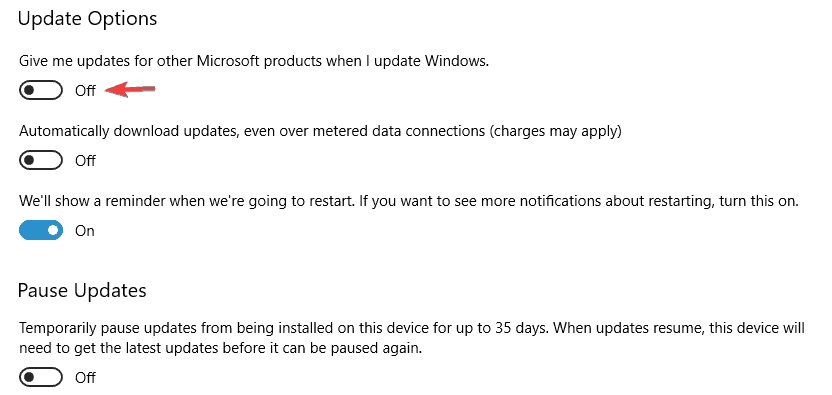
- Now disable Give me updates for other Microsoft products when I update Windows option.

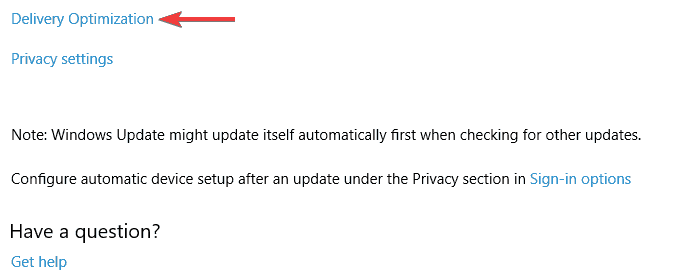
- Scroll down and navigate to Delivery Optimization section.

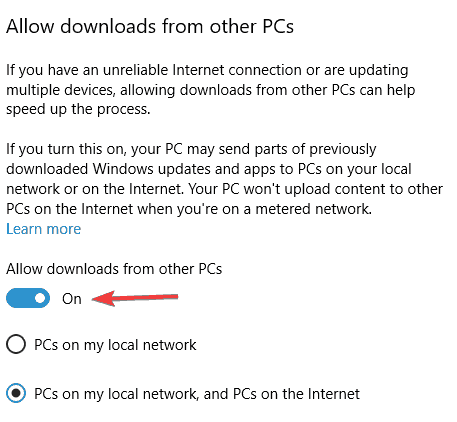
- Locate Allow downloads from other PCs option and disable it.

If you’re having automatic update problems on Windows 10, you might be able to fix them by making a couple of changes to the Windows Update settings. After making these changes, check if the problems with automatic updates are resolved.
2. Check your antivirus
According to users, the most common issue with automatic updates can be your antivirus software. In some cases, the antivirus can interfere with your system and cause various problems with Windows Update.
To fix the problem, it’s advised to disable certain antivirus features and check if that helps. If that doesn’t work, your next step would be to disable your antivirus altogether. In the worst-case scenario, you might even have to remove your antivirus.
If removing the antivirus solves the issue, you might want to consider switching to different security software with maximum protection that won’t interfere with your system.
3. Free up some space
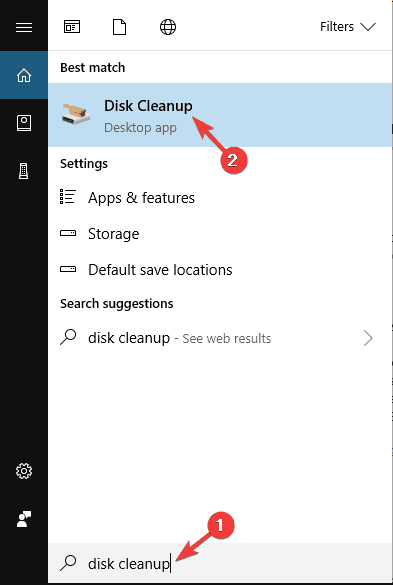
- Press Windows Key + S and enter disk cleanup. Choose Disk Cleanup from the list of results.

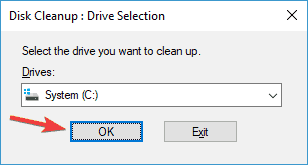
- Select your system drive and click OK.

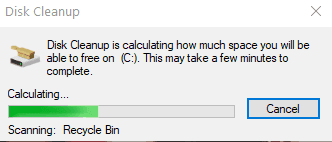
- Disk Cleanup will now scan your drive. This can take a couple of seconds, so don’t interrupt it.

- When Disk Cleanup window opens, you’ll see a list of files. Select the files you want to remove and click OK.

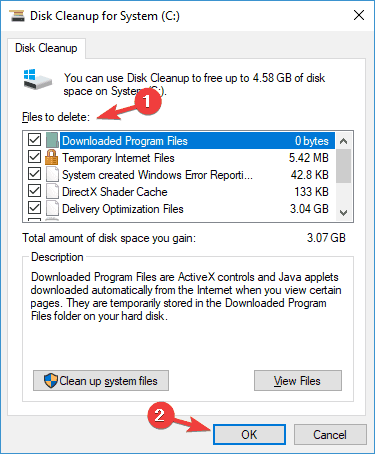
Issues with automatic updates can occur due to a lack of space on your PC, and in order to fix that, it’s advised to free up some space on your system drive. The updates require at least 20GB free on your system drive, and if you don’t have space, you’ll need to free it up as described above.
The application will now remove the selected files and you’ll successfully free up some space. If you’re not a fan of Disk Cleanup, you can also use third-party tools to free up more space on your PC.
After freeing up space, try to install Windows Updates again.
4. Disconnect USB storage devices
Many users use portable hard drives and other USB storage devices to store their files, but sometimes these devices can interfere with Windows Update and cause issues with automatic updates.
To fix this problem, it’s advised that you disconnect all external storage devices from your PC and check if that solves the problem.
5. Run Windows Update troubleshooter
According to users, if you have problems with automatic updates, the best way to fix them is to run Windows Update troubleshooter. Windows comes with many built-in troubleshooters that can fix common problems, and if you have problems with Windows Updates, you can fix the issue by doing the following:
- Open the Settings app and go to Update & Security section.
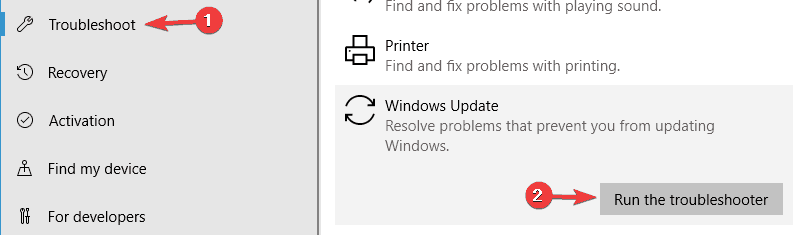
- Select Troubleshoot from the left pane. Select Windows Update from the list and click Run the troubleshooter button.

The troubleshooter will now start and try to fix the problems automatically. Once the troubleshooter is finished, check if the problem is resolved.
6. Reset Windows Update components
Sometimes problems with the automatic update can occur because certain Windows Update components aren’t working properly. However, you can fix that by resetting them. There are several ways to do that, but the fastest one is to use the command line. To do that, just follow these steps:
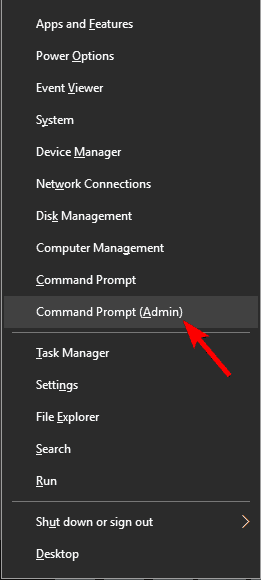
- Press Windows Key + X to open Win + X menu. Choose Command Prompt (Admin) or Powershell (Admin) from the list.

- Once
- Command Prompt starts, run the following commands one by one:
- net stop wuauserv
- net stop cryptSvc
- net stop bits
- net stop msiserver
- Ren C:WindowsSoftwareDistribution SoftwareDistribution.old
- Ren C:WindowsSystem32catroot2 Catroot2.old
- net start wuauserv
- net start cryptSvc
- net start bits
- net start msiserver
After running all these commands, the Windows Update components will reset and the issue should be resolved.
7. Disable your proxy
Many users use proxy in order to protect their privacy online, but sometimes your proxy can interfere with your Internet connection and cause automatic update problems. However, you can easily fix this issue by disabling your proxy. This is pretty easy to do, and you can do it by following these steps:
- Open the Settings app. Now select Network & Internet.

- Navigate to Proxy in the left pane. In the right pane disable all options.

Once you do that, the proxy should be completely disabled on your PC, and problems with automatic updates will be resolved. If you’re still concerned about your privacy, we suggest that you try using VPN software.
8. Download the missing update manually
If you’re having automatic update problems, you might be able to circumvent them simply by downloading and installing the missing updates manually. All Windows updates are available for download from Microsoft Catalog, and you can download them for free.
Before you can download the missing update, you need to know its update code. The updated code starts with KB and it’s followed by an array of numbers, and you can usually find it in the Windows Update section. Once you find the updated code, you can download the update by doing the following:
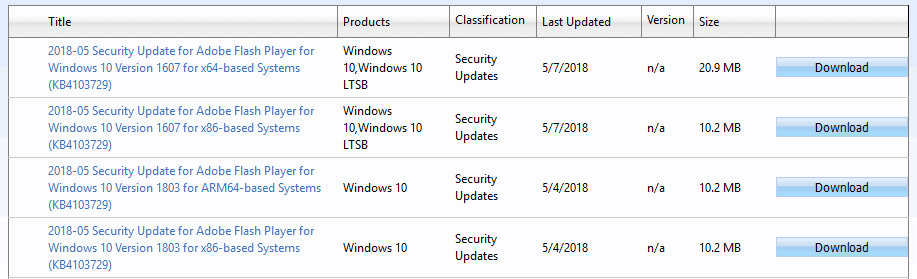
- Go to the Microsoft Update Catalog website and enter the update code in the search box.
- You should now see the list of matching updates. Pick the update that uses the same architecture as your PC and click the Download button.

- Wait while the update is downloaded. Once the download is finished, run the setup file to install the update.
Keep in mind that this solution might not fix the core problem with Windows Update, but at least it will allow you to install the missing update.
9. Perform an in-place upgrade
If other solutions didn’t fix the automatic update problems on your PC, you might have to perform an in-place upgrade. This process will install the latest version of Windows while keeping all your files and applications intact. To perform an in-place upgrade, do the following:
- Download and run Media Creation Tool.
- Select Upgrade this PC now option in Windows Media Creation Tool.
- Wait while the setup prepares the necessary files.
- Select Download and install updates (recommended) and click Next.
- The setup will now download the updates. This can take a while so be patient.
- Once the updates are downloaded, follow the instructions on the screen. Once you reach Ready to install screen click Change what to keep.
- Select Keep personal files and apps and click Next.
- Follow the instructions on the screen to complete the setup.
After performing the in-place upgrade, you’ll have the latest version of Windows 10 and the problem with the automatic update should be fixed.